
Ready to Ship!

Ribbon Feet Set
-54%✖ CURRENTLY OUT OF STOCK
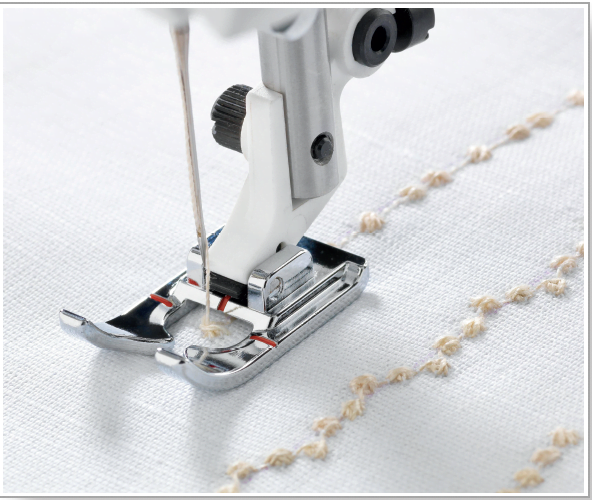
DescriptionMachine Compatibility: 1, 2, 3, 4, 5, 6, 7, 8, 9 Not sure which group your machine belongs to? Check out the Machine Compatibility Chart With the HUSQVARNA® VIKING® Ribbon Feet Set you can easily create decorative ribbon embellishment. Three different feet will accommodate a variety of ribbons (from 6-13.5 mm). Sewing using the ribbon feet Use iron-on-stabilizer or tear-away-stabilizer to stabilize the fabric when sewing. Depending on the thickness of the fabric, more or less stabilizer may be needed. Always test on a scrap piece of the fabric you are using. Thread the machine with thread that matches your ribbon. Select straight stitch (other stitches might damage the presser feet and/or cause the needle to break). Choose Ribbon Foot 1, 2, or 3 depending on the width of your ribbon. For best result, the ribbon should fill the slot in the foot and still run easily through it. We recommend using ribbons with even thickness. Thread the ribbon from the front through the slot in the foot Pull out about 1" (2 cm) of the ribbon behind the foot. Snap the foot onto the machine. When sewing, place the ribbon over your shoulder or to the right of the machine. It is very important that the ribbon flows easily while you are sewing. Free-motion sewing with ribbons To free-motion stitch, your machine must have a special free-motion function. This function is available for models in group 1 and 7. Prepare the machine as described to the left. Set the machine for free-motion sewing (please consult your User’s Guide for instructions). Hold the ribbon ends when beginning to sew. Guide the fabric lightly. Turn the fabric to change sewing direction. Hints Use lightweight “flat” ribbons, for example, organza (ribbons with coarse texture will not feed smoothly through the foot). For different looks, cut your own ribbons from fabric straight or on the bias. When doing a spiral or a swirl, sew from the inside out.